Blocking and Defense in The Strongest Battlegrounds
Hold F with purpose—perfect blocks, wake-ups, and anti-greed habits that save the shared HP bar.
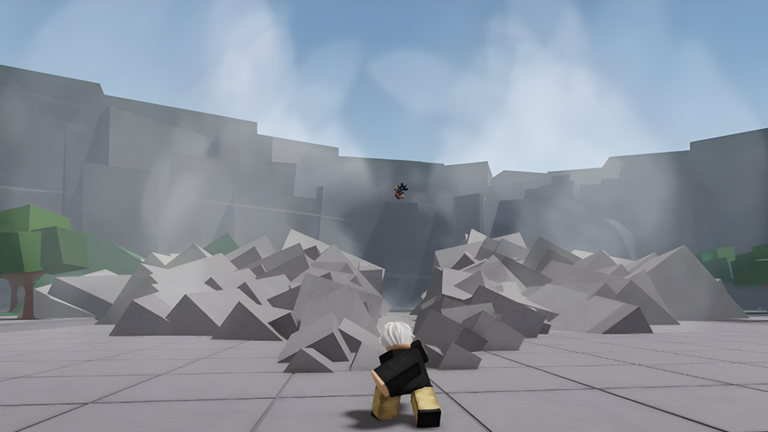
Offense gets clips; defense gets Elo. In The Strongest Battlegrounds every character shares the same HP pool, so the player who blocks on time, refuses bad holds, and wakes up with the correct dash simply outlasts the player who only labs One-Shot Combos. This guide covers F-block, perfect-block rewards, post-M1 vulnerabilities, dash wake-ups, and how defense pairs with walls, Burst, and ranked.
New players should skim Getting Started and Controls first so the buttons are not a mystery.
How blocking works
Hold F to raise your guard. While blocking you are protected from many basic attacks and a subset of skills across a forward-facing arc, but you move slower and cannot freely swing. Think of block as a directional shield, not an omni-armor buff. Attacks from behind, grabs, and dedicated guard-break tools still ruin you.
Important recovery rule: after you throw M1s, there is a short period where you cannot block. The length varies by which hit in the string you just used—later hits often leave longer gaps. That is why mashing a full string into a patient blocker is dangerous, and why opponents forward dash into you when you finish a chain and try to hold F out of panic.
Perfect block, criticals, and Black Flash
If you perfectly time a block against an opponent’s M1, you can earn a critical state on your next basic attack—community and wiki notes describe amplified damage and a distinct feedback cue. Chaining perfect defense into another perfect window can escalate into Black Flash-style hits for even larger multipliers on the shared bar. These rewards punish autopilot M1 spam and reward calm reads.
You do not need to master Black Flash on day one. First goals:
- Block complete strings without dropping late hits.
- Release block and take your turn instead of holding forever.
- Only then hunt perfect-block timing for critical starts into your own convert.
Critical starts pair beautifully with Wall Combo Guide once you steer them into a surface.
What not to do after your own M1s
A common intermediate habit: finish four M1s, immediately hold F. Strong players answer with a forward dash into your face, steal momentum, and sometimes take the wall. Better options after a string:
- Back dash or side dash to reset spacing.
- A safe special that contests without raw greed.
- Walk back and re-block on their approach, not during your own recovery.
Defense is turn-taking. If you do not know whose turn it is, assume you are still minus and prioritize movement.
Dash as defense
Dashes are not only offense:
- Back dash (S+Q) — retreat and wake-up tool with armor frames during rolls; shares cooldown with forward dash.
- Side dash (A/D+Q) — shorter, faster cooldown, great for leaving bad lines and waking from ragdoll without always burning the shared forward/back cool.
- Forward dash (W+Q) — primarily gap closer and wall trigger; weak as a wake-up compared to back/side, and server timing makes it riskier on high ping.
Ragdoll cancel / evasive options are limited—often roughly once per cooldown window—so spending the wrong dash on a fake pressure string can leave you stranded for the real one. Details and platform binds stay on Controls.
Respect lists: unblockables and armor
Not everything should be blocked. Uppercuts, certain shoves, close-range punches, and character-specific tools can break or ignore guard. Armor moves and wall cinematics also ignore your desire to mash throw. When you see an armor animation, stop swinging; when you see a grab startup, move rather than hold F.
Ultimate awakenings add another layer: many kits gain invulnerability on G, while Strongest Hero’s ultimate can pierce defenses others cannot. Defense against ultimate is often disengage and wait, not heroic blocking. See Ultimate Combos for spend patterns you must respect as the defender.
Team defense and Burst
In multi-attacker chaos, block alone will not save you. Track the Burst Guide meter: when two or more players dump damage into you, fill Burst and press R to shockwave out. After Burst, do not re-hold F in the same pocket—leave.
Ranked defense priorities
In first-to-two 1v1 (How to Play Ranked), every perfect block critical can decide a round. In 3v3 Elo, your job includes peeling: block long enough for a teammate to force the attacker’s back, then Burst or dash out. Ego-challenging every hit loses maps.
Practice plan
- Have a friend throw only M1 strings; block all four hits ten times.
- Practice releasing block and landing your own two-hit punish.
- After your own fourth M1, force yourself to dash instead of holding F—twenty reps.
- Wake up drills: get ragdolled, choose back vs side dash intentionally.
- Optional: hunt five perfect-block criticals, then convert one into a wall.
Stabilize FPS with Settings and FPS so block cues are visible. Study Character Interactions so cutscenes do not look like missed blocks. Use Tier List only after defense is stable enough to evaluate matchups fairly. Between sessions, claim Codes, watch Players who win ugly, and return to the Guides Hub.
Defense is a decision tree: block what is blockable, dash what is not, Burst what is stacked, and never gift free forward dashes by holding F on your own minus frames. Master that tree and your shared HP bar suddenly lasts entire ranked sets.
Frequently Asked Questions
Quick answers for combat, codes, and ranked play.
How do I block?
Hold F to guard against many frontal M1s and some skills. You move slower while holding, and some grabs or breakers still beat block.
Why can’t I block right after punching?
M1s leave a short no-block recovery that varies by hit. Opponents can forward dash punish if you try to hold F immediately after your string.
What is a perfect block critical?
Timing a block cleanly against an M1 can empower your next basic attack for bonus damage, with further escalations possible on repeated perfect defense.
Which dash should I use to wake up?
Prefer back dash or side dash depending on spacing and cooldowns. Forward dash is a poor default wake-up and shares cooldown with back dash.
When should I use Burst instead of block?
When multiple players are hitting you at once and block cannot free you. Fill Burst from that pressure, then press R to shockwave escape.